



Meme Templates
Find a layout for your joke, then make every caption and picture your own.
Find your starting point
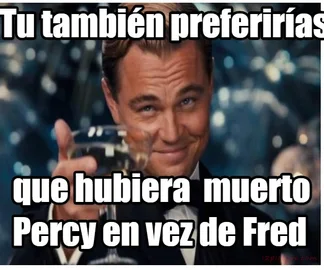
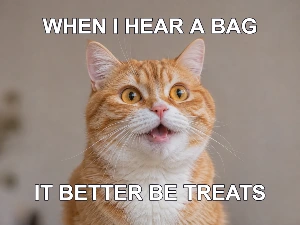
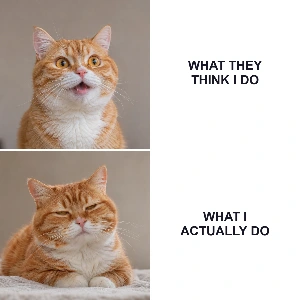

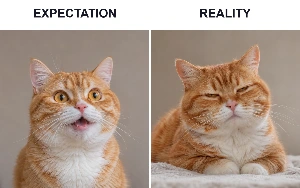
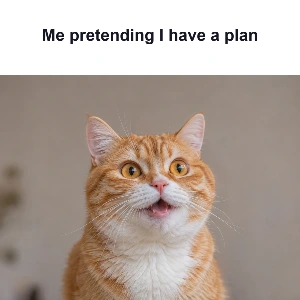
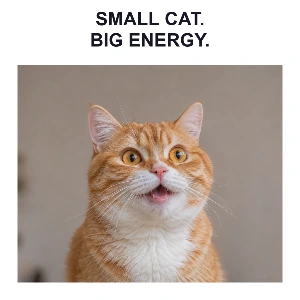
Start with a classic top-and-bottom caption, a headline, a bottom punchline, an expectation-versus-reality comparison, a two-row comparison or a spotlight layout. Keep the example cat photos or replace them with your own pictures.
Make a meme in three steps
- Choose a complete template, or use one of six layouts to arrange your photo sources.
- Double-click a caption to edit it. Adjust its font, outline and alignment, or add more text and artwork.
- Download PNG, JPG or WebP, or save an editable project to continue later.
Turn a picture and a punchline into your own meme.
Use the Templates panel to choose a complete editable meme, or arrange your photo sources with one of six layouts. Keep the example cat photos or replace them, double-click captions to edit them, and style the words directly in the shared picture editor. Download an image or save an editable project for later.
 QUICK TUTORIALHow to make a cat meme?Give a cat photo your own punchline. Double-click the caption and write your own text.English narration · English captions · 22 secondsWatch tutorial
Start with a template or layout
Open a ready-made meme or arrange one or two photos for your own punchline.
Browse templates and arrange your photos
Use the Templates panel beside the canvas to browse eight template previews per page. Use Previous and Next to see more. Selecting a template loads its complete editable scene in the current editor without opening another page. Choose Undo to restore your previous design.
The six layout controls arrange your photo sources separately from the template picker. Classic places captions over a photo. Headline puts the words above it, and The punchline puts them below. Expectation and reality uses two side-by-side pictures; What they think uses two comparison rows. Spotlight gives a short message and one picture a clean frame.
Use the picture controls to replace the example cat photos with your own images. Choose Fill to cover each photo frame, or Fit to keep the whole picture visible. The two-photo layouts let you replace each picture separately.
Meme captions wrap within their text boxes. Double-click to edit, then choose Done or press Ctrl+Enter (Command+Enter on Mac) to finish. Escape cancels the current text edit. Use Font for size and alignment and Appearance for color and outline, and drag the handles to arrange the design.
Switching layouts starts a fresh composition using the current photo sources. It replaces the previous captions and arrangement. Choose Undo to restore the previous design.
Give the text its own character
Choose a font, color, outline and shadow that suit the picture.
Work with fonts, alignment and Arabic text
Select text and use the Font icon in the floating toolbar for its font, size, bold and italic styles. The alignment and direction buttons sit together; expand Advanced to adjust line spacing for multiline text. Appearance has Color, Texture and Shadow tabs for text. Color groups the fill and outline controls with separate opacity sliders for each. Choosing an outline color adds a 1 px outline when its width is zero. Existing outline widths stay unchanged. Drag the object and its handles directly on the canvas to change its position, size or rotation.
Arabic and other right-to-left text stay editable. Use Automatic direction or choose Right to left explicitly, and select a font that contains the characters you need. The original Arabic template fonts are included with the design.
System fonts offers fonts installed on this device in browsers that support local font access. The browser may ask for permission. A project opened on another device needs the same system font to keep its exact appearance; a downloaded image preserves the rendered lettering.
Build with pictures and shapes
Add a photo, a heart, a frame or another detail without flattening your work.
Arrange objects on the canvas
Use Image, Shapes or Artwork in the top toolbar, then select the new object on the canvas. Use the Image icon in its floating toolbar to crop, flip or adjust a picture, and Appearance to adjust its opacity. Use Shape for a shape: a star has a Points slider, and a polygon has a Vertices slider. Appearance contains fill, outline and opacity. Drag the object or its handles to change placement, size and rotation.
Bring to front and Send to back move an object all the way through the stack. Lock an object to protect its position while arranging nearby items. If objects overlap, Alt-click to select another object at that position. Open Objects when you need to select, show, unlock or delete an item that is difficult to reach on the canvas. Each unlocked row has a Delete button, and Undo can restore a removed object.
Open Artwork to browse the built-in collections or search i2Clipart by subject or color. Artwork and texture results show eight images per page; use Previous and Next to explore the collection. Choose a texture for lettering and shapes from the pattern library, or add your own. Artwork stays editable; a texture fills the selected text or shape. Use the Settings gear beside Download to adjust the canvas size, background, grid and snapping. The canvas dimensions, zoom slider and Fit button sit below the canvas.
Choose the right finished file
Download PNG, JPG or WebP for a static design, or GIF for an animation.
Understand what an image download keeps
PNG preserves transparent areas and crisp graphics. JPG uses an opaque background and suits many photographs. WebP can combine a compact file with transparency.
Choose the export format in Settings, then use Download in the editing toolbar. Image downloads combine the visible objects into one finished picture. Selection handles, editing controls, guides and the transparency checkerboard do not appear in the output. Keep a project copy if you want to edit individual words or objects later.
Return to your own designs
Save projects in this browser and keep a separate editable backup.
Save, reopen and back up a project
New, Open and Save sit together in the editing toolbar, with Undo and Redo in the upper toolbar. Choose Save, enter or update the project name, then save the editable design in this browser. Choose Open to see saved designs with previews, dates, download and delete actions. An account is not required.
Open the triangle beside Save. Choose Save a copy to keep a separate browser project without replacing the original, or Download project for an editable .i2symbol.json backup containing the scene and its image resources. Choose Open, then Open project file, or drop the backup into that dialog to continue later. The separate Download button exports a finished PNG, JPG, WebP or GIF.
The star on a template saves a shortcut to that public design. It does not save your edits; use Save for your own work.
Files and browser processing
Open JPG, PNG, WebP and GIF images, or an i2Symbol project backup. Large still images are reduced to a working copy for responsive editing. Still-image canvases support up to 4,096 pixels per side; animated exports use a smaller limit to keep frame processing manageable. The editor reports unsupported sizes before export.
FAQ
Good to know.
A few answers before you make it your own.
On your deviceWhat is the difference between templates and layouts?
Templates opens a gallery of complete editable designs, eight per page. Choosing one replaces the current scene in this editor. The six layout controls instead arrange your current photo sources with fresh captions. Undo restores the previous design after either change.
Can I use my own pictures for a meme?
Yes. Replace the example picture with your own image. The comparison layouts have two independent picture slots. You can also add more text, pictures, shapes and artwork in the editor.
Which file should I download for a meme?
PNG keeps captions and graphics crisp. JPG is useful for photographic memes, and WebP offers a compact image. Save a project or download a project file as well if you want to change individual captions later.
How do I select an object behind another object?
Alt-click the overlapping area to cycle through the objects there. You can also open Objects to select an item, show a hidden object or unlock a protected one.
Can I change the number of points in a shape?
Yes. Select a star or polygon, then choose Shape in the floating toolbar. Adjust Points for a star or Vertices for a polygon. The shape updates while you move the slider, and you can change its fill, outline and size.
Do I need an account to save a design?
No. Save stores an editable copy in this browser. Download project creates a separate JSON backup that you can reopen later.
What happens if I clear my browser data?
Clearing this site's stored data can remove browser-saved projects and favorites. Keep an editable copy with Download project before clearing site data or changing devices.
Are my pictures uploaded for editing?
This editor processes your pictures, project files and downloads in your browser. It loads public template images and fonts from the website. When you use i2Clipart search, your search is sent to i2Clipart to retrieve artwork. Saving a project does not publish it or send it to an account.