

Choose a frame for the subject
Open Photo Frames and compare the named previews. Choose a design with enough open space for the important part of your picture.
A wide landscape photo and a close portrait may need different openings. The preview helps you judge the shape before committing to a frame.
Replace the sample image
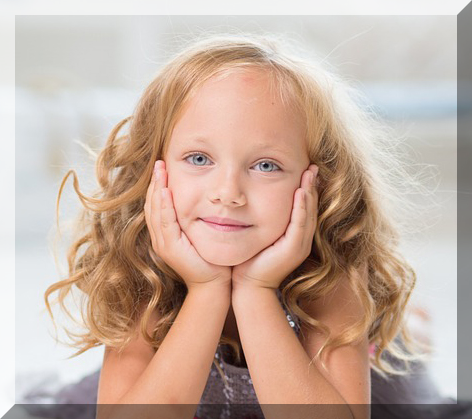
Open the frame and load your own PNG, JPG or WebP. The sample is a demonstration; replacing it makes the result yours.
Check the complete composition before adjusting colors. The frame may cover the outer edges even though the source photo itself was loaded correctly.
Position the photo carefully
Use Zoom, Horizontal position and Vertical position to place the subject in the opening. Crop, rotate or flip when the source needs another orientation.
Inspect faces, hands and lettering near the frame edge. Use Undo if an adjustment hides an important detail, and compare the result at normal viewing size.
Export the framed picture
Choose PNG, JPG or WebP, then Download image. Use a transparency-capable format when the design includes transparent pixels you want to keep.
Open the output to verify the border and photo placement. The downloaded file is a finished image, so keep the original photo if you may want a different frame later.
Small choices that help
Leave space around faces
A frame feels less crowded when the subject has some room inside its opening.
Do not enlarge unnecessarily
Zoom enough to fill the intended area, but remember that enlargement cannot add detail to a small photo.
Useful questions
Can the frame hide part of my photo?
Yes. The decorative design can cover the edges or restrict the visible opening. Reposition and inspect the subject before export.
Does JPG preserve transparent areas?
No. Use PNG or WebP when you need transparency.
Can I reuse a loaded photo with another frame?
The optional Reuse my photos for 12 hours setting remembers source photos in this browser. It does not preserve every editing adjustment.